Home
Home  Navigation


Mastering Hyper Light Breaker's Targeting System: Lock-on vs. Free Cam
Hyper Light Breaker presents a unique challenge with its largely unexplained mechanics. One crucial aspect is the lock-on system, which, while helpful, shouldn't be your default setting. This guide clarifies how to use targeting effectively and when to utilize lock-on versus free camera mode.
How to Target Enemies
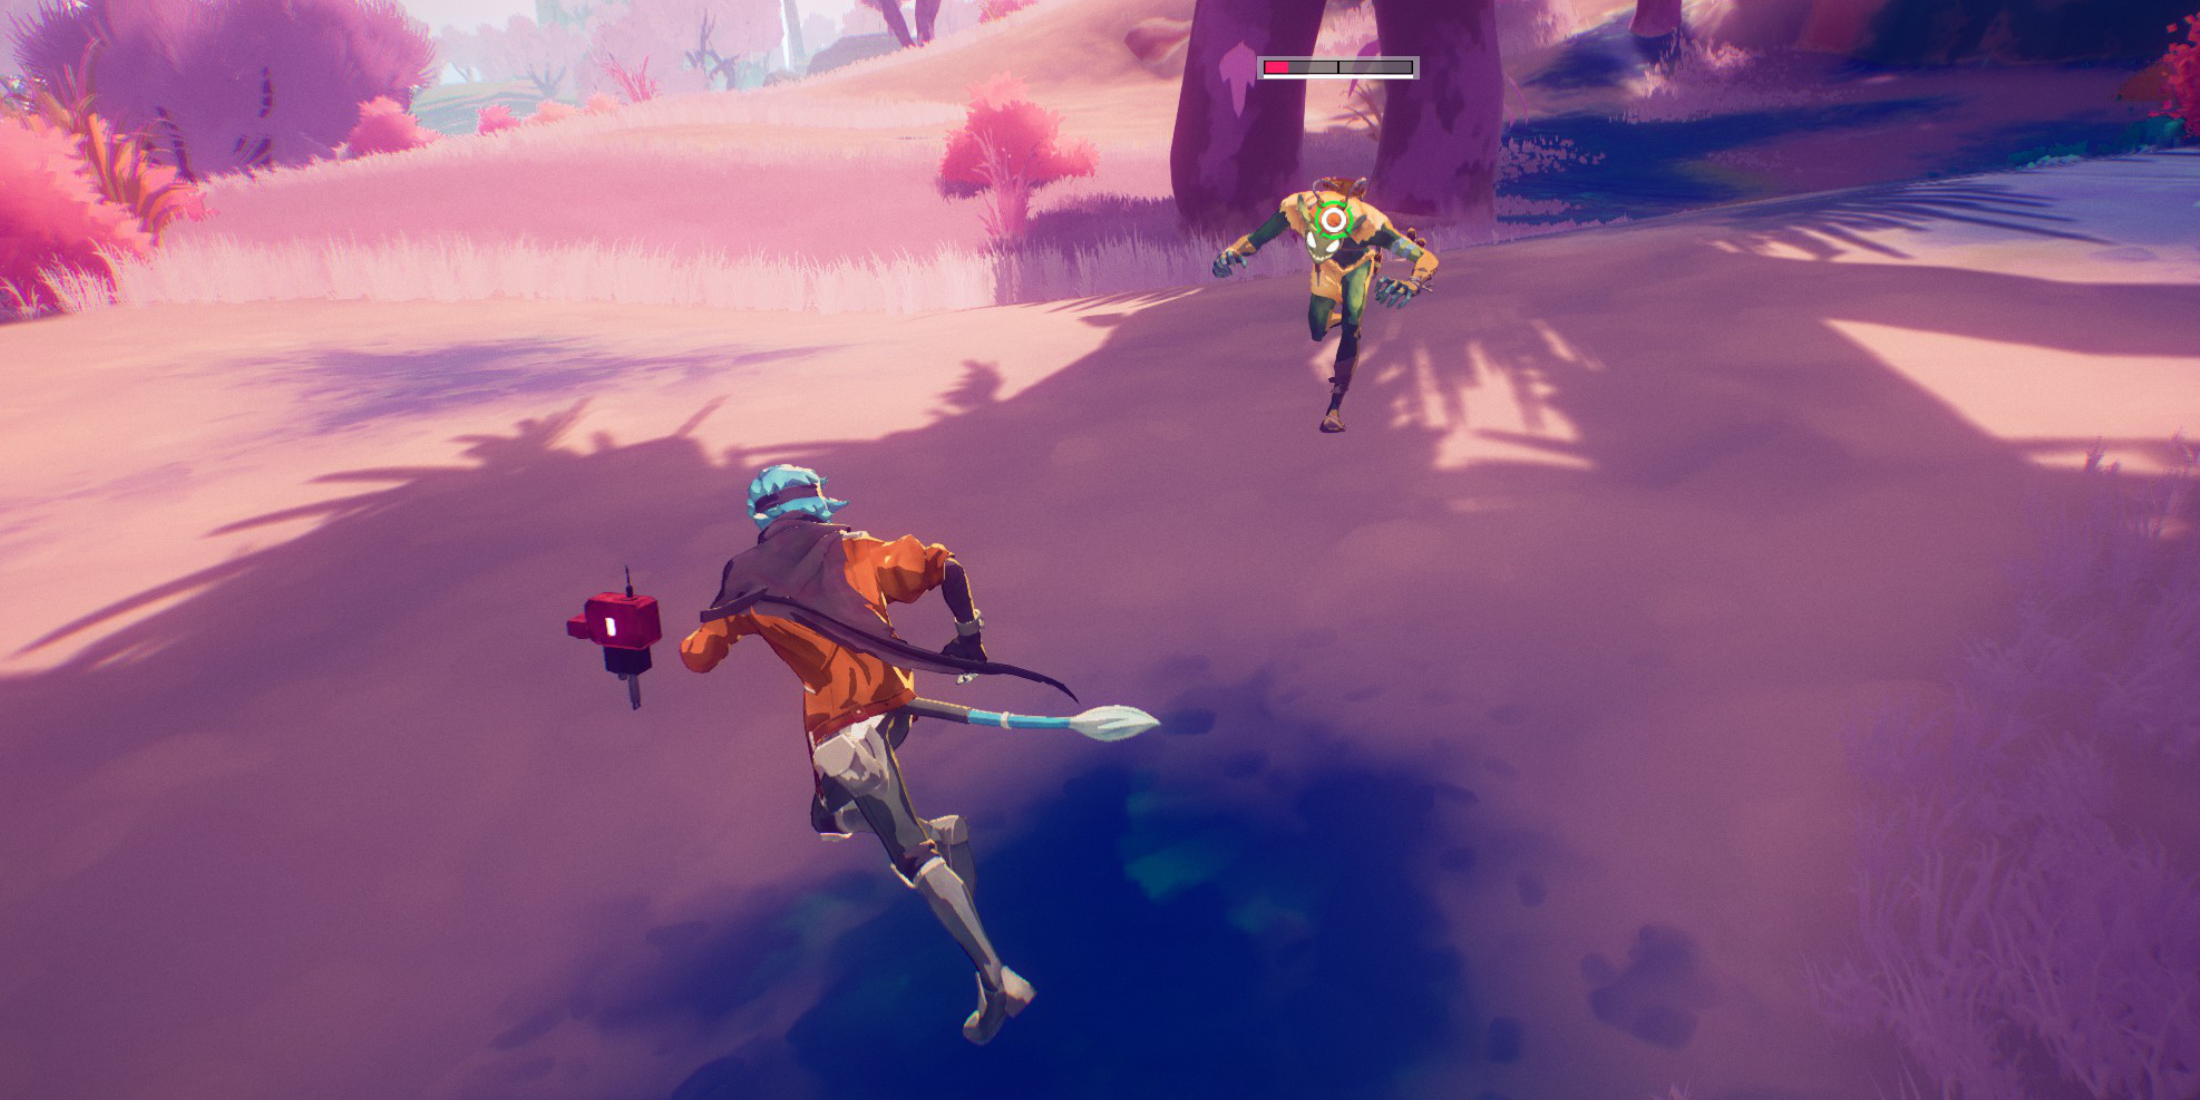 To lock onto an enemy, center your view on your target and press the right analog stick (R3). The game will usually identify the target unless it's surrounded by others. A reticle will appear, and the camera will zoom slightly.
Line of sight isn't necessary; as long as the enemy is visible and within range on screen, you can lock on.
Locking on alters character movement, with the camera tracking your target. Movement tends to become circular around the target, and fast-moving enemies can cause rapid camera shifts, potentially affecting your directional inputs.
To switch targets while locked on, use the right analog stick to select the nearest enemy in range. To cancel lock-on and return to free camera, press the right analog stick again (this can be customized in the settings). Lock-on also automatically disengages if you move too far from the target.
When to Lock-on vs. Free Cam
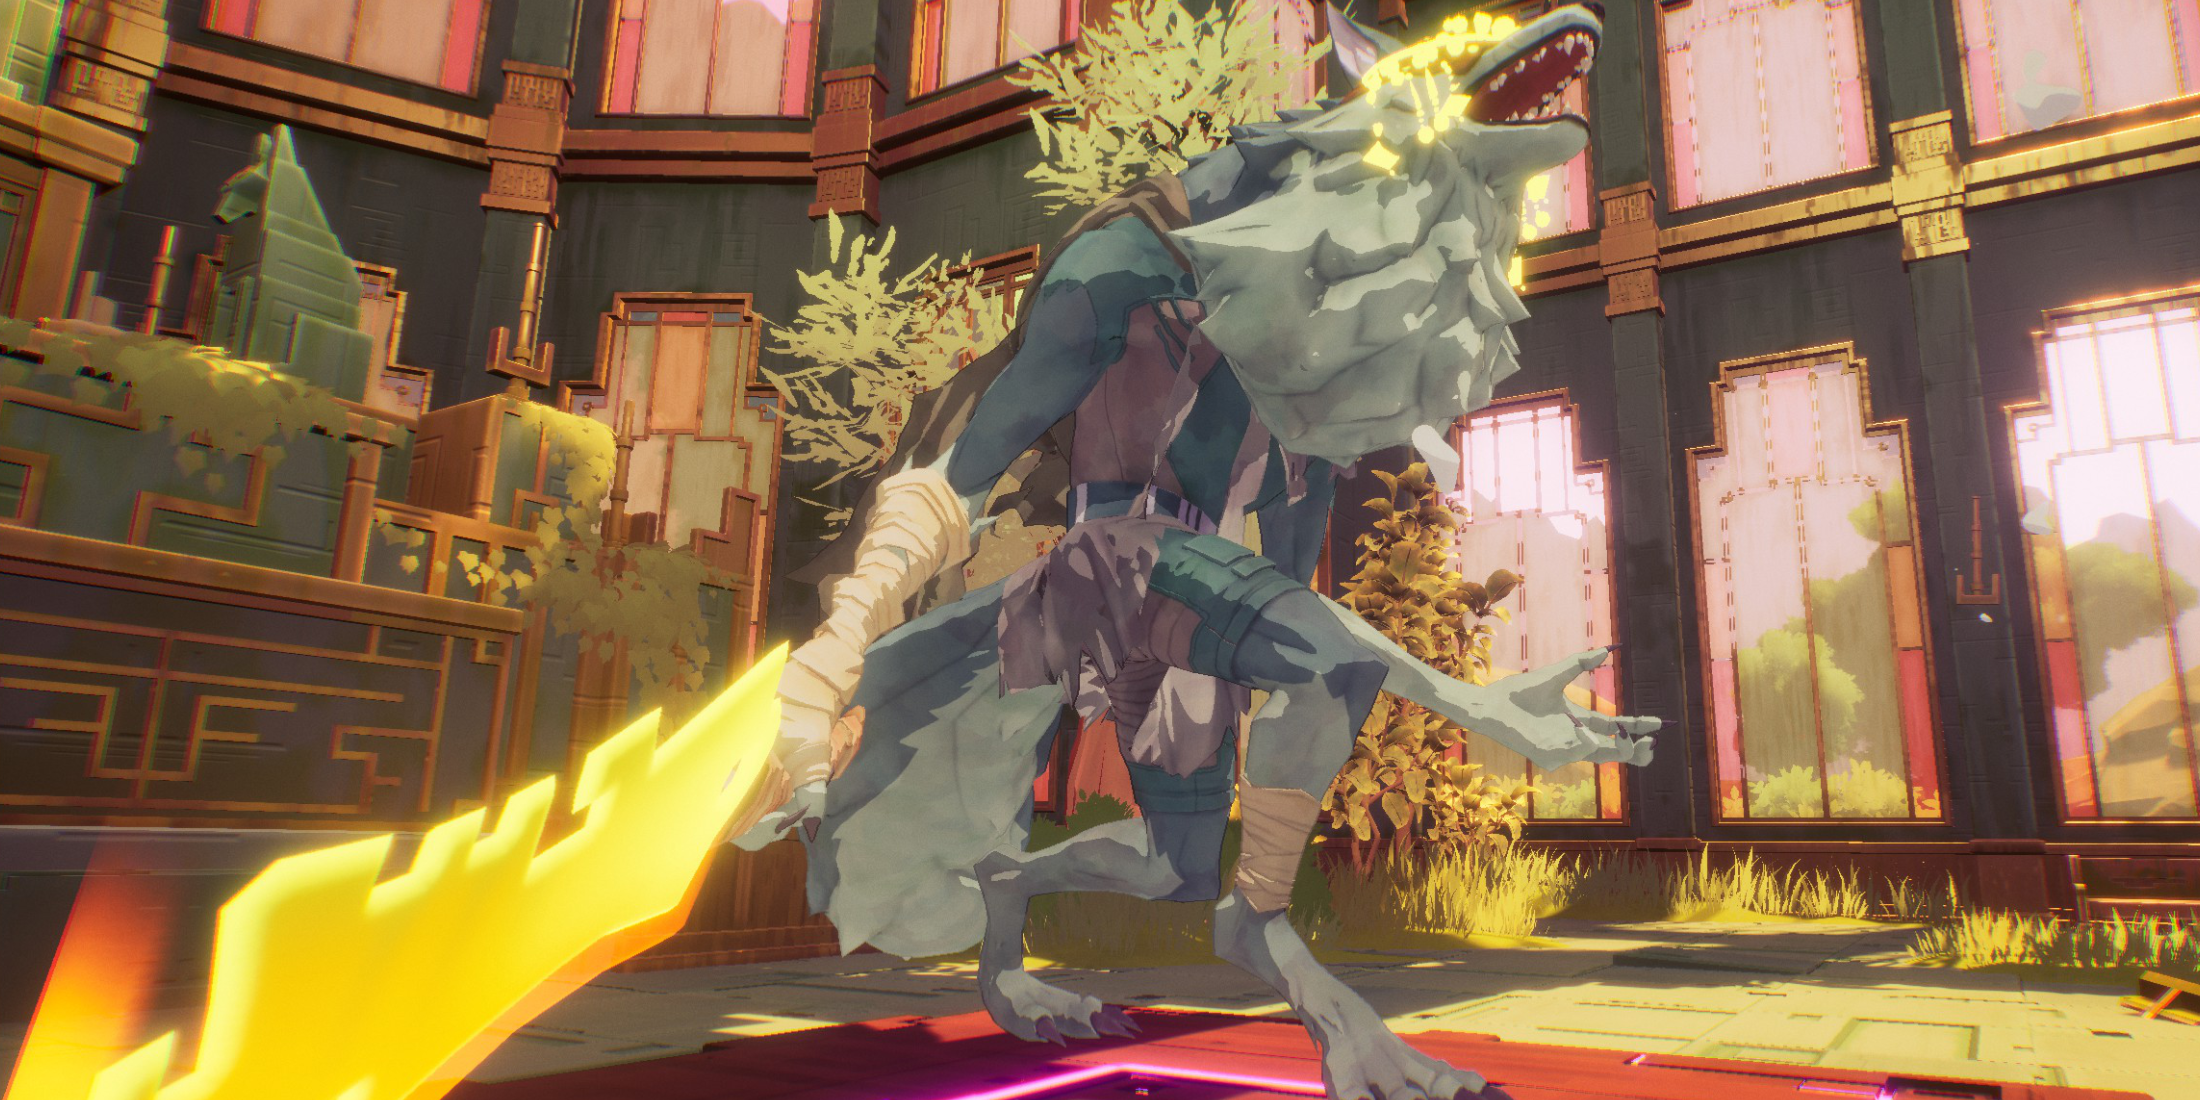 Lock-on excels in one-on-one encounters, such as boss fights or against strong (yellow health bar) enemies – but only after eliminating other threats. The focused camera leaves you vulnerable to attacks from unseen enemies.
Free camera is generally superior. Against multiple or easily defeated enemies, lock-on hinders your situational awareness.
Against mini-bosses or bosses, lock-on is beneficial after clearing surrounding enemies. Cancel lock-on if new enemies appear, then re-engage once the boss is isolated.
During Extraction, for example, prioritize free camera until all regular enemies are eliminated before locking onto the mini-boss for focused attacks.
 Latest Articles


 Latest Games
![[王国]SLOT魔法少女まどか☆マギカ2](https://img.sjjpf.com/uploads/34/17306699406727ed74966a9.webp)