Home
Home  Navigation


Superliminal is a captivating journey through a dreamlike world where perspective shapes reality and puzzles challenge your perception. If you're navigating this mind-bending game and find yourself stuck, our comprehensive Superliminal walkthrough is here to guide you through each level and puzzle.
Table of Contents
- Play and Solve Superliminal With Our Full Walkthrough
- Level 1 – Induction
- Puzzle 1
- Puzzle 2
- Puzzle 3
- Puzzle 4
- Puzzle 5
- Puzzle 6
- Puzzle 7
- Puzzle 8
- Puzzle 9
- Puzzle 10
- Puzzle 11
- Puzzle 12
- Level 2 – Optical
- Puzzle 1
- Puzzle 2
- Puzzle 3
- Puzzle 4
- Puzzle 5
- Puzzle 6
- Level 3 – Cubism
- Puzzle 1
- Puzzle 2
- Puzzle 3
- Puzzle 4
- Puzzle 5
- Puzzle 6
- Puzzle 7
- Puzzle 8
- Level 4 – Blackout
- Puzzle 1
- Puzzle 2
- Puzzle 3
- Puzzle 4
- Puzzle 5
- Level 5 – Clone
- Puzzle 1
- Puzzle 2
- Puzzle 3
- Puzzle 4
- Puzzle 5
- Puzzle 6
- Level 6 – Dollhouse
- Puzzle 1
- Puzzle 2
- Puzzle 3
- Puzzle 4
- Puzzle 5
- Puzzle 6
- Level 7 – Labyrinth
- Puzzle 1
- Puzzle 2
- Puzzle 3
- Puzzle 4
- Puzzle 5
- Puzzle 6
- Puzzle 7
- Puzzle 8
- Level 8 – Whitespace
- Puzzle 1
- Puzzle 2
- Puzzle 3
- Puzzle 4
- Puzzle 5
- Puzzle 6
- Puzzle 7
- Level 9 – Retrospect
Play and Solve Superliminal With Our Full Walkthrough
Before diving into the detailed Superliminal walkthrough, let's cover the basics. In this game, you can't die—even if you drop a giant block on yourself, it won't hurt because everything is happening within your mind.
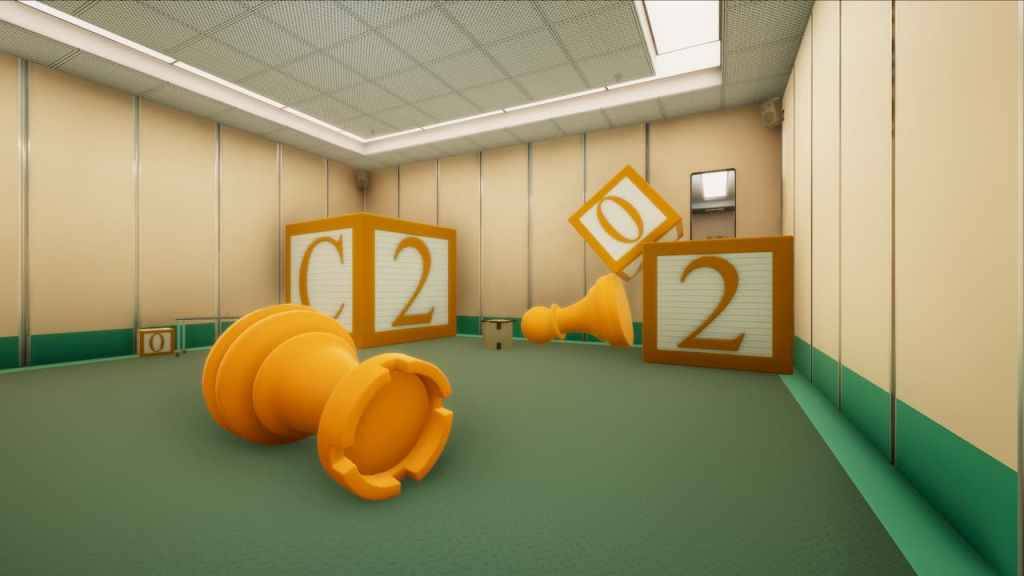
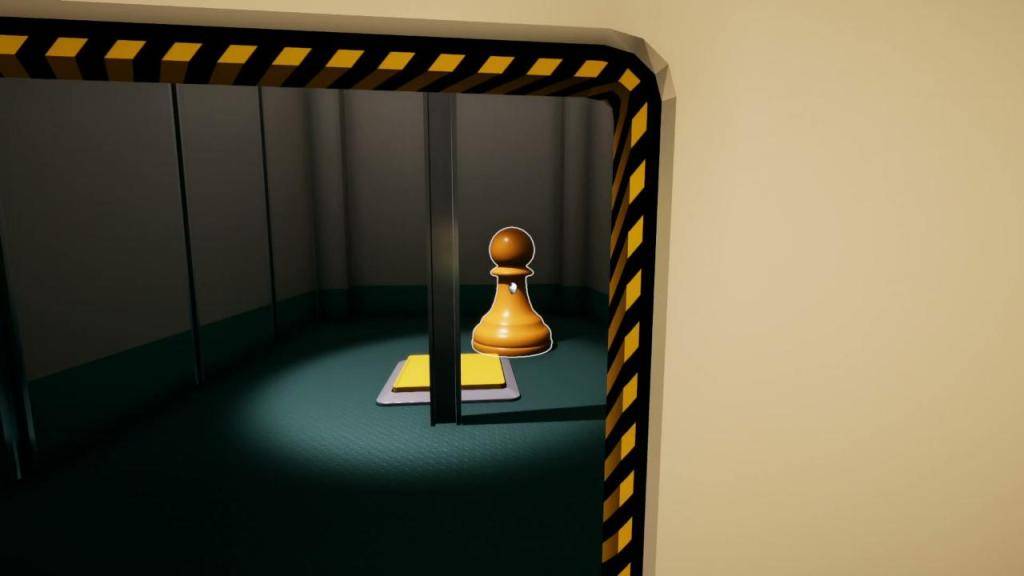
To get familiar with the game mechanics, spend some time in the practice room. Experiment with objects: when you release an object close to the floor or a wall, it becomes smaller. Conversely, if you release it further away, it grows larger. You can repeat this process to adjust the size of objects as needed. For example, pick up a pawn from the desk, cross the room, and hold it over the desk. When released, it will match the size of the lamp due to your perspective. As the note in the practice room suggests, perception is key. You'll also learn to make objects appear by aligning them in your view.
Once you've mastered these basics, you're ready to tackle each level of Superliminal.
Level 1 – Induction
This level introduces you to the core mechanics of Superliminal.
Puzzle 1
Begin by signing the contract if you choose, then proceed down the corridor into the next room.
Puzzle 2
Experiment with the pawns and other items on the table, then move through the door. You'll encounter a giant chess piece blocking your path. Lift it, look down at the floor, and drop it. Use it as a stepping stone to reach the next area.
Puzzle 3
The exit door is in the far right corner, behind two stacked blocks. Shrink the top block by releasing it near the floor, then use the fallen chess piece as a ramp to reach the top of the block and exit through the door.
You'll encounter doors that you can pass through if you're not carrying anything, but objects will block you.
Puzzle 4
Place an object on the button to keep the door open, similar to Portal. Position yourself to the right of the button to see through the door when it opens. Place a cube on the button and pass through the door.
Puzzle 5
From the previous room, pick up the cube and look at the ceiling. Drop and pick up the cube repeatedly to make it larger until it's big enough to use as a step to the door in the corner. Climb onto it and proceed to the next room.
Puzzle 6
Look through the left window to pick up a pawn, then through the right window to place it on the button. Use the pawn's shadow to align it correctly, then exit through the door.
Puzzle 7
Learn to rotate objects, which can only be rotated in one plane. Enlarge the cheese using the look-up-and-drop method to create a ramp to reach the doorway.
Puzzle 8
Pick up the massive block and shrink it by releasing it against a wall. Place the now-smaller block on the button to the right of the door.
Puzzle 9
Grab the massive block on the left and shrink it near the bottom of the wall. Look through the broken window and place the tiny block on the button you can see beyond. Alternatively, you might be able to drop it on the slope to get it through the window.
Puzzle 10
To get the block over the wall into the next room, stand in the back left corner. Raise the block until it clears the wall, then release it to fall into the other room. Place it on the button if needed, then exit.
Puzzle 11
Enlarge the exit sign by repeatedly dropping it from the ceiling. Rotate it to touch both buttons simultaneously, then release it and exit.
Puzzle 12
Ignore the button behind the door as it's blocked by a brick wall. Instead, peek through the crack in the wall panels to the left and take the cheese wedge. Enlarge and rotate it to knock down the leaning wall panel, allowing you to climb over and complete the level.
Level 2 – Optical
Assuming you're now comfortable with resizing objects, here's how to navigate this level.
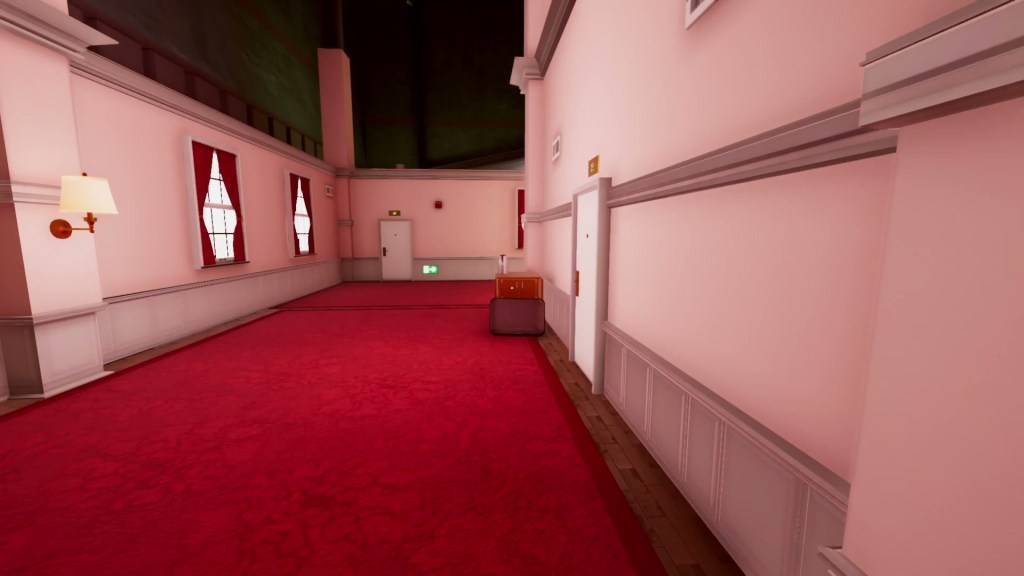
Puzzle 1
Move through the hotel until you reach the fire exit door. Set it aside and continue. When you see a nighttime painting on your left, walk towards it to go upstairs. In the large room, remove an exit sign from the wall, enlarge it, and use it to climb over the far wall. Navigate the boxes to reach the door.
Puzzle 2
Enter the room on your right with fold-out tables and a projector. Align the cube-painted items to form a perfect cube, which will materialize. Enlarge it to stand on and reach the corridor exit.
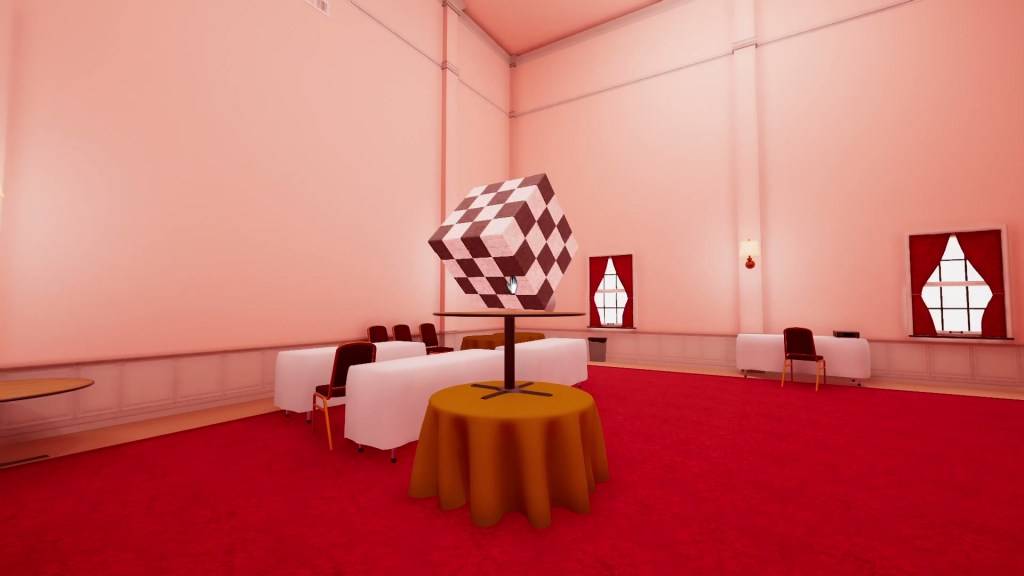
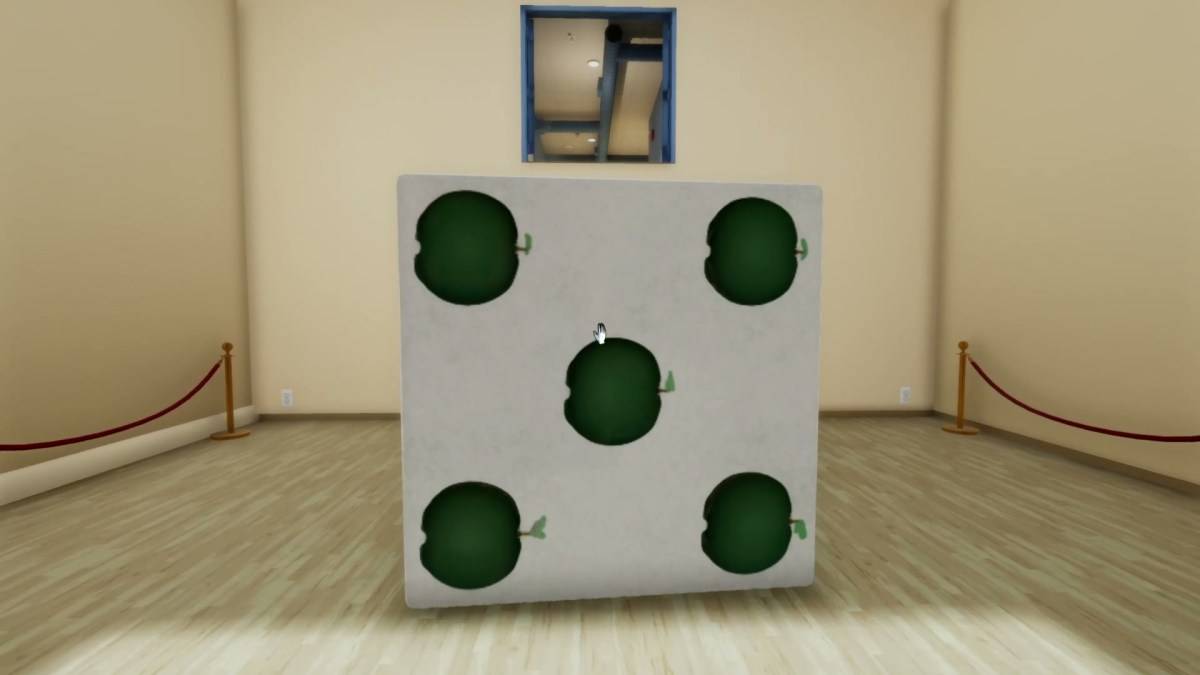
Puzzle 3
Create another cube by standing behind the table with an X and backing up until the flowers align. From the opposite side, align the flowers on the new table with the hole in the checkered cube to get it. Rotate the cube to reveal stairs, then enlarge it to reach the high door in the corridor.
Puzzle 4
Take the cube stairs to the ledge on the left of the big room. Align the missing part of the fire exit door on a pillar to make it real. Without moving, click to 'open' it and exit through the new doorway.
Puzzle 5
Go upstairs into the room with spilled paint. Align the cube on the ceiling, pick it up, and enlarge it to reach the upper level and the yellow gantry. Align the green pipe with the stain to form a chess piece, then use the hole it creates to exit.
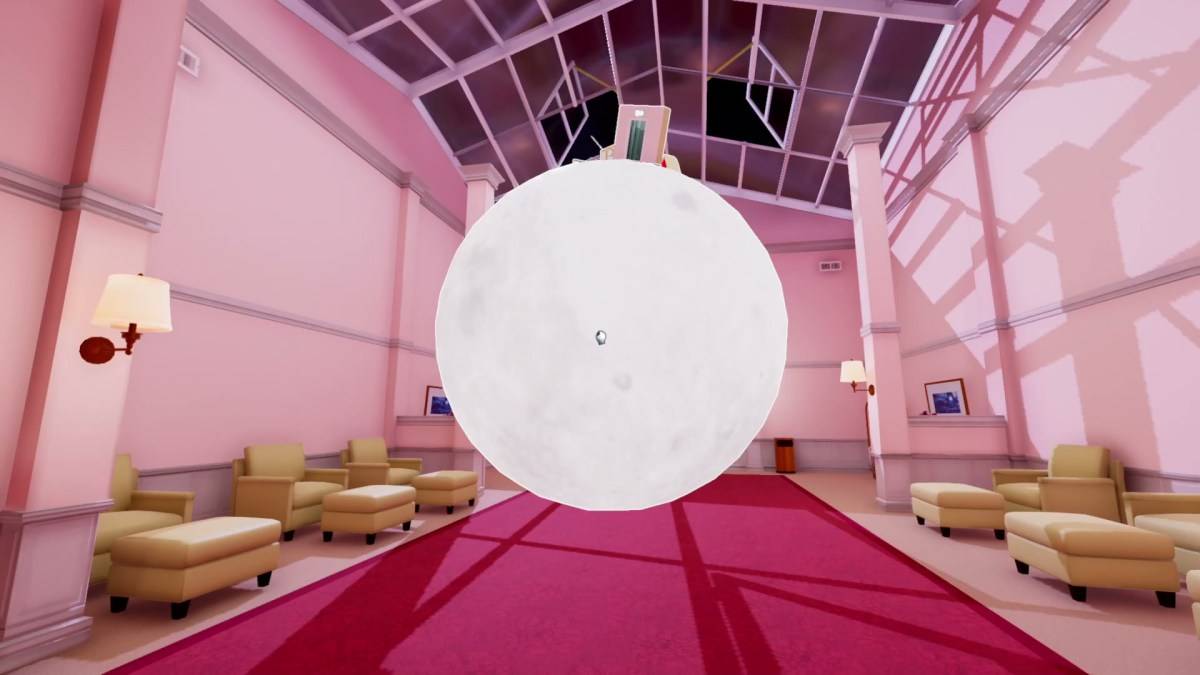
Puzzle 6
Back in the hotel, look through the far skylight and pick up the Moon. Rotate and enlarge it until the tiny door on it is big enough to enter. Use the elevator to complete the level.
Level 3 – Cubism
Prepare to manipulate numerous dice as you navigate an art gallery and mental museum.
Puzzle 1
Upon reaching the gallery, enter the Curator's Room on the right and grab a dice. Enlarge it to reach the ledge and proceed to the next room, bringing the dice with you.
Puzzle 2
Enlarge the dice to reach the exit, then use a smaller dice from an alcove as a stepping stone onto the larger one. Climb through the high door.
Puzzle 3
Simply pick up the new dice on the floor, jump down the hole it creates, grab the air vent beneath the floor, and continue.
Puzzle 4
Use the dice as steps to progress further.
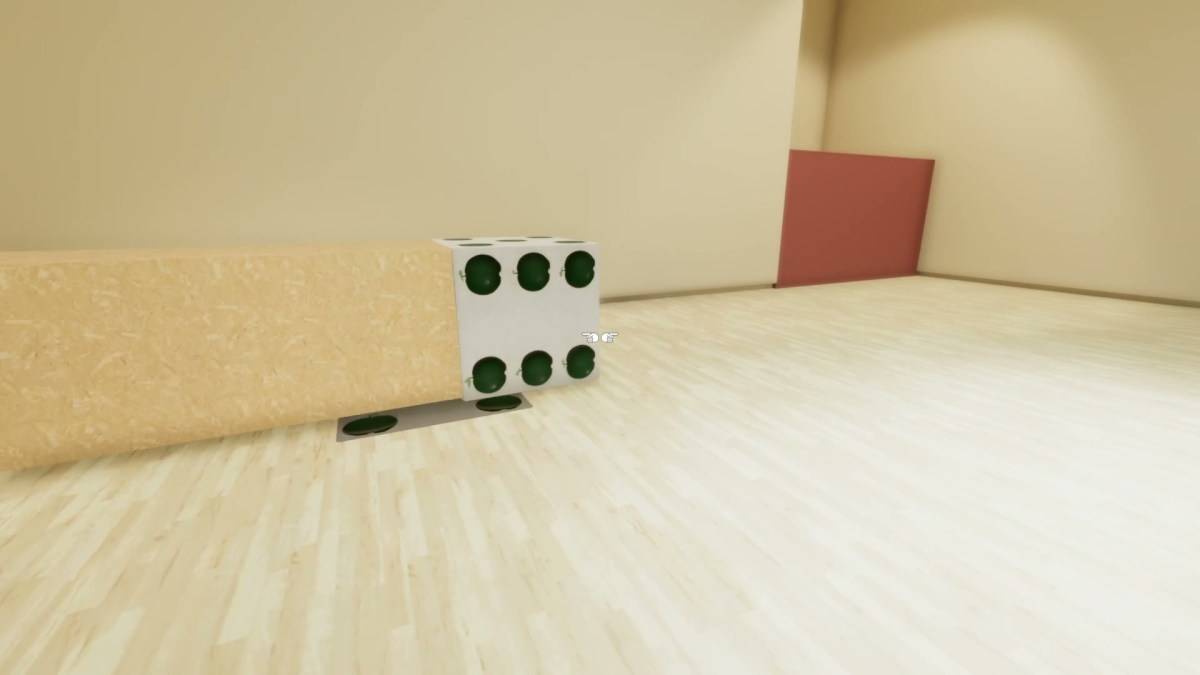
Puzzle 5
Upon entering, you'll see three dice attached to the floor. Lower the middle dice into the floor, then slide the left dice to the right. Use it to jump onto the ledge.
Puzzle 6
When the dice collapse, pick up any side to create a ramp to the ledge and exit the door.
Puzzle 7
Position the dice near the ledge. Even if it explodes, use any piece to enlarge and stack on other chunks to ascend to the ledge.
Puzzle 8
Pick up the dice face opposite the stairs, move it aside, and enter the cube. Proceed to the elevator to complete the level.
Level 4 – Blackout
While there's no risk of death, you might experience some tense moments. You'll walk a bit before facing puzzles.
Puzzle 1
The door ahead leads to a dead end. Instead, walk to the right side of the room through the darkness to find an exit at the back.
Puzzle 2
Further on, you'll face a red pit when walking forward. Look at the ground to the left to find a winding platform. Follow it across the pit to the next area.
Puzzle 3
When a door slams behind you, turn around and walk backwards into the darkness to find an arrow pointing to silhouetted stairs. Ascend them.
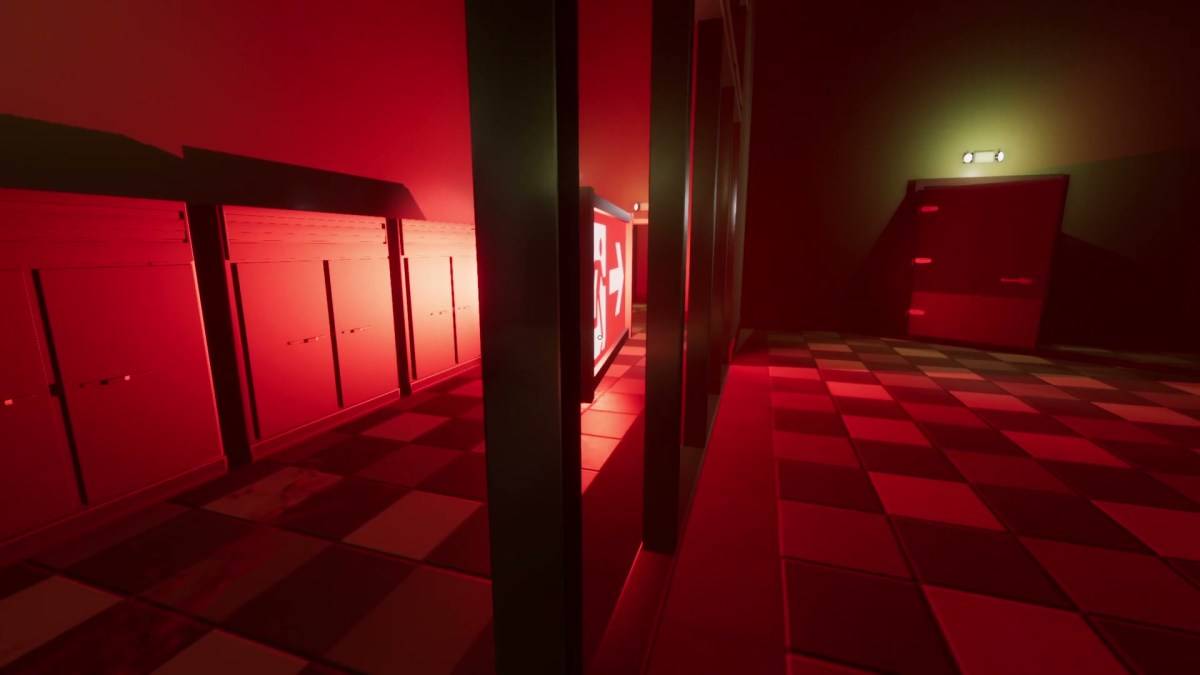
Puzzle 4
In the red room, look through the planks and take the exit sign. Enlarge it and use it to light your way past boxes to the door.
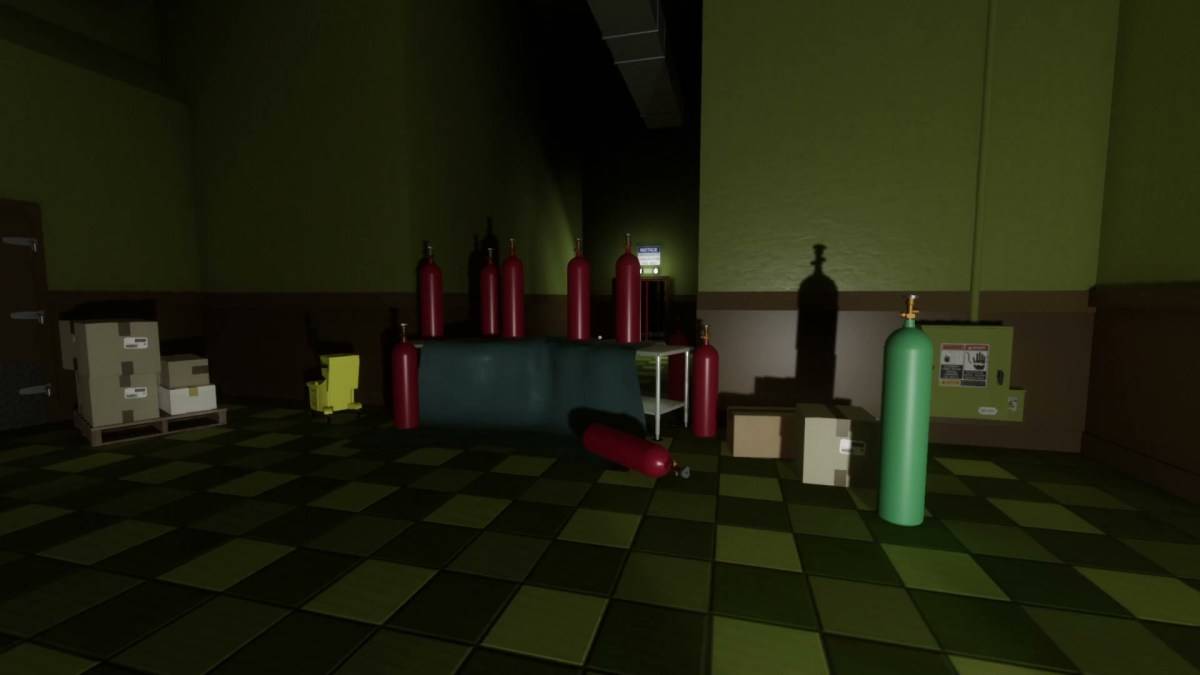
Puzzle 5
In the storeroom, enlarge the red exit sign to illuminate the room through the glass window. Climb the boxes to reach the high exit.
Finally, activate the IDEA generator, proceed straight ahead, and enter the elevator to complete the level.
Level 5 – Clone
This level features objects that spawn copies of themselves.
Puzzle 1
There's a green button but no obvious object to use. Go back for the door you removed and place it on the button.
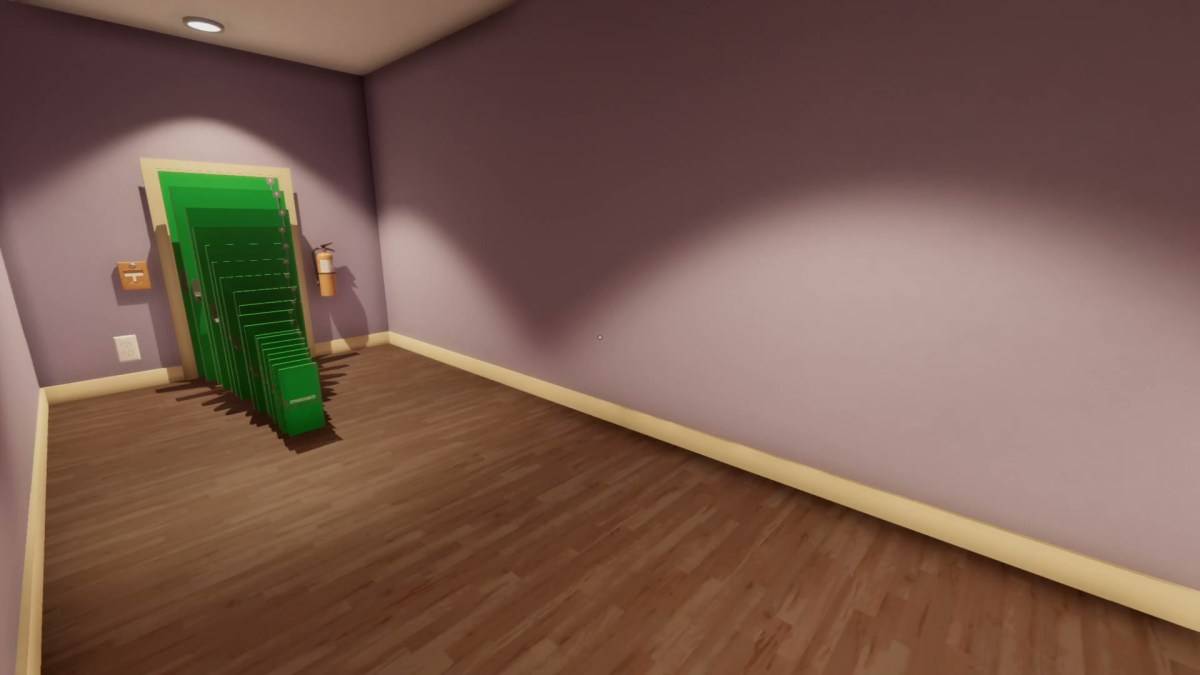
Puzzle 2
In the Y-shaped corridor with fire doors at each end, clicking them spawns smaller doors. Create a staircase of doors on the right side, then climb over the wall to get behind the door.
Puzzle 3
Click the clock to spawn duplicates. Enlarge them to create a staircase of clocks.
Puzzle 4
The apple on the button keeps the door locked. Clone it, look at the ceiling, and drop a massive apple to knock the smaller one off.
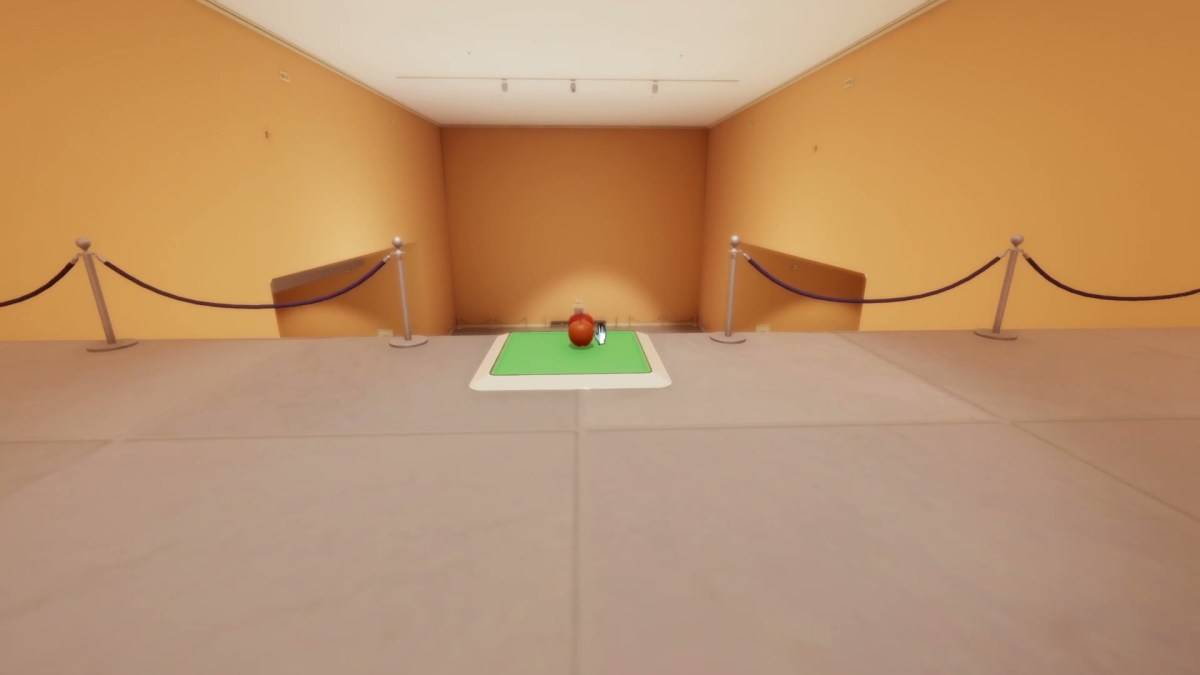
Puzzle 5
To get an apple onto the green button upstairs, stand behind the button and look down at the apple. Click to clone it onto the button.
Puzzle 6
Clone the SomnaSculpt sign repeatedly to create enough copies to climb and jump up. Reach the top level, jump down the hole beneath the door, and navigate linear corridors to the elevator, ending the level.
Level 6 – Dollhouse
Start by entering the Relaxation Room, then head through the movie theater and turn right at Suite G. Navigate the office area and pass through the object-blocking door.
Puzzle 1
Pick up the dollhouse and enlarge it by looking up and dropping it until it's large enough to enter. Go inside, through the door ahead, and jump onto the suitcases and table to reach the other door.
Puzzle 2
You'll find a door atop a pile of Jenga blocks. Enlarge the small fan and place it to blow the blocks, freeing the door. Proceed through it.
Puzzle 3
Click on the second window from the left, enlarge it, and walk through.
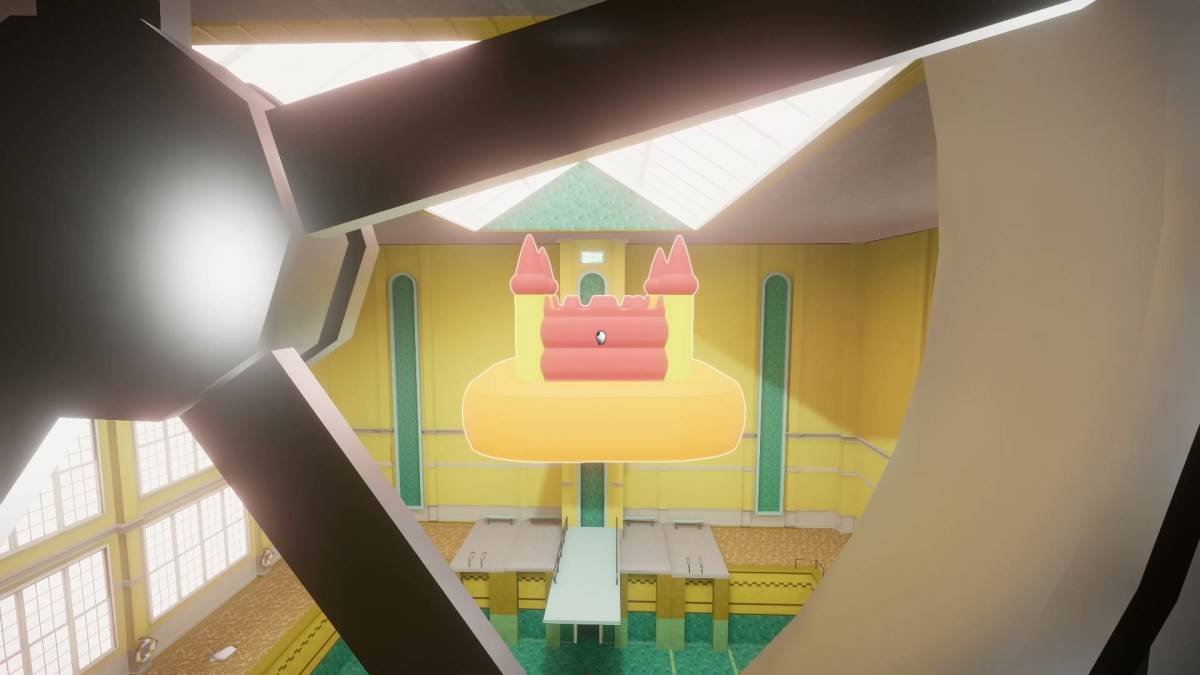
Puzzle 4
Enlarge the inflatable castle until you can walk through the door. Navigate through the vent fan, balancing the castle on the top diving board to reach the door.
Puzzle 5
Position the larger door close to the upper door/keyhole, leaving enough room to shimmy through. Place the smaller door on top of the first, then enter through the keyhole.
Puzzle 6
Instead of resizing to normal size, grab the cardboard dollhouse from the chair and resize it on the ledge to enter. Use the elevator to complete the level.
Level 7 – Labyrinth
You start in bed and move into the backrooms. Keep walking during the emergency protocol speech until you're back in the bedroom.
Puzzle 1
Navigate the alarm clock loop by repeatedly walking until the screen goes black and gravity shifts. Drop through the doorway into the catering area, then click the alarm to return to the bedroom. Take the blue sky painting to the end of the blank hallway, place it where a door would be, and walk into it. Sidestep left to continue until you're pinned against the wall in a red hall.
Puzzle 2
Inside the hall, click the grey door on the right to reveal the exit and drop it to find a hole beneath. Jump down to reach an orange hall.
Puzzle 3
In the orange hall, align the painted block on the right wall. As you back up, you'll fall through a crack to the next area, or simply run to the wall and drop down.
Puzzle 4
Grab the spiral staircase, enlarge it by looking up and dropping it, causing it to break through the floor. Climb down to the bottom, move the slide-like junk near the elevator, and enter. Turn around to exit through the door behind you, following exit signs through the repeating hallway.
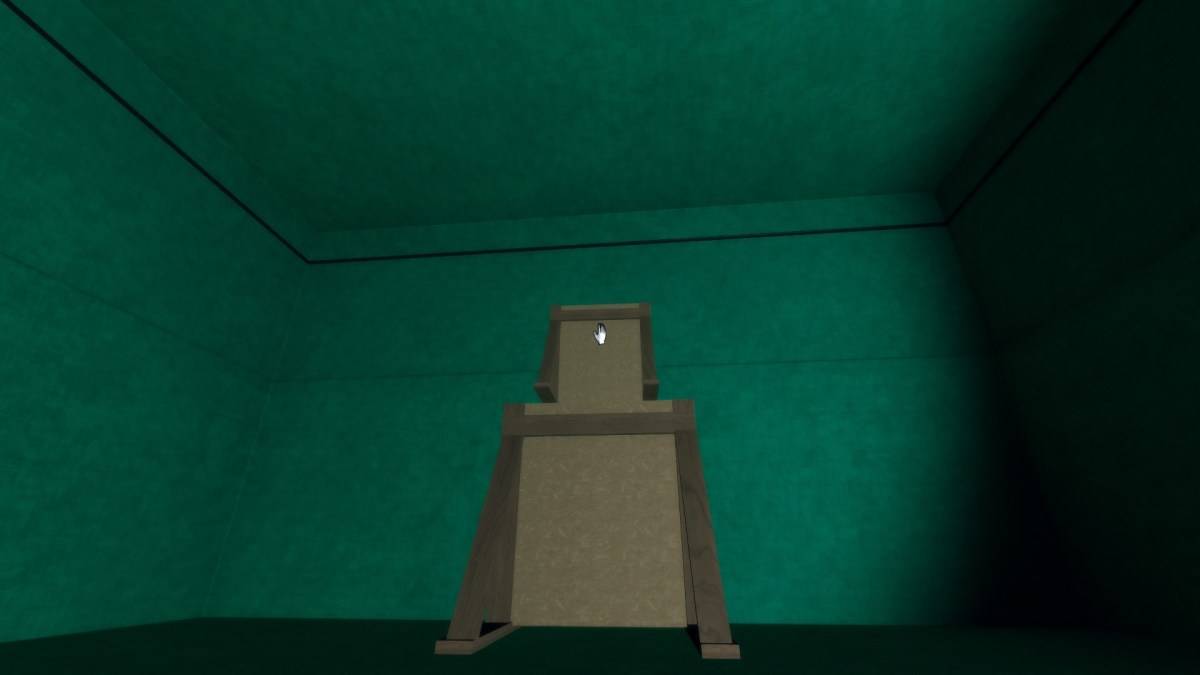
Puzzle 5
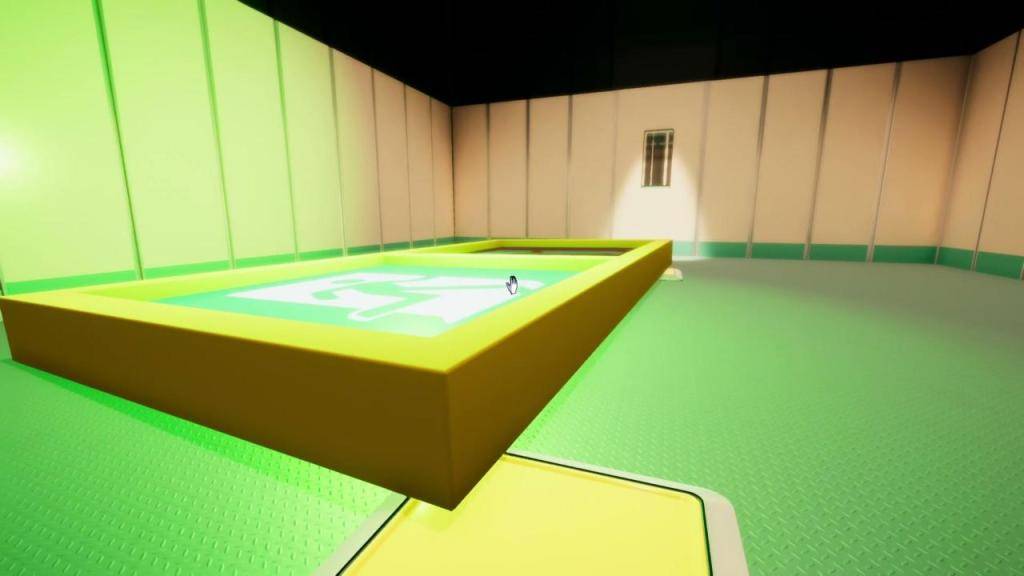
Place the dice on the left ledge, shrinking it slightly to climb up. Turn around to make the dice appear on the top level of the pool. Use it to reach the next level and exit through the door.
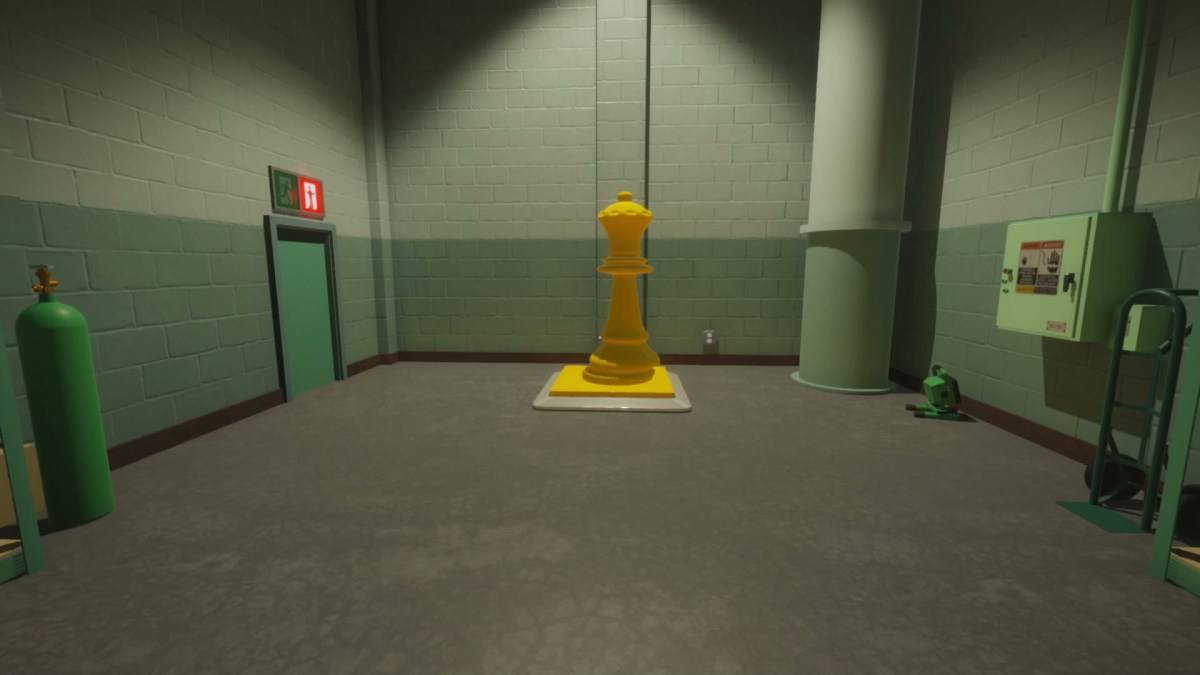
Puzzle 6
Placing the chess piece on the button makes it 2D. Instead, stand on the button, look through the door, and use another chess piece to hold it down.
Puzzle 7
Pick up the dice to change the room. Use it to climb to the bed level, then drop the cube to be transported to a dark corridor. Walk to the end, drop down, click the alarm clock, and navigate through elevators following arrows until you reach a darkened hallway. Click the alarm clock and enter the elevator.
Puzzle 8
Approach the lampposts to turn them 2D. Walk up to each 'wall' to reveal a bedroom in the center. Enter and click the alarm clock to complete the level.
Level 8 – Whitespace
You're nearing the end, but first, you need to escape the room you wake up in.
Puzzle 1
Click on the building model's chunk to the left of "Jungles" and enlarge it to enter the door. Position the model to obscure the far door, then enter. The bricked-up doorway will open, leading you through the model's entrance. Shrink the model, walk towards the door, and watch the room dissolve into white. Keep walking until you reach a black block.
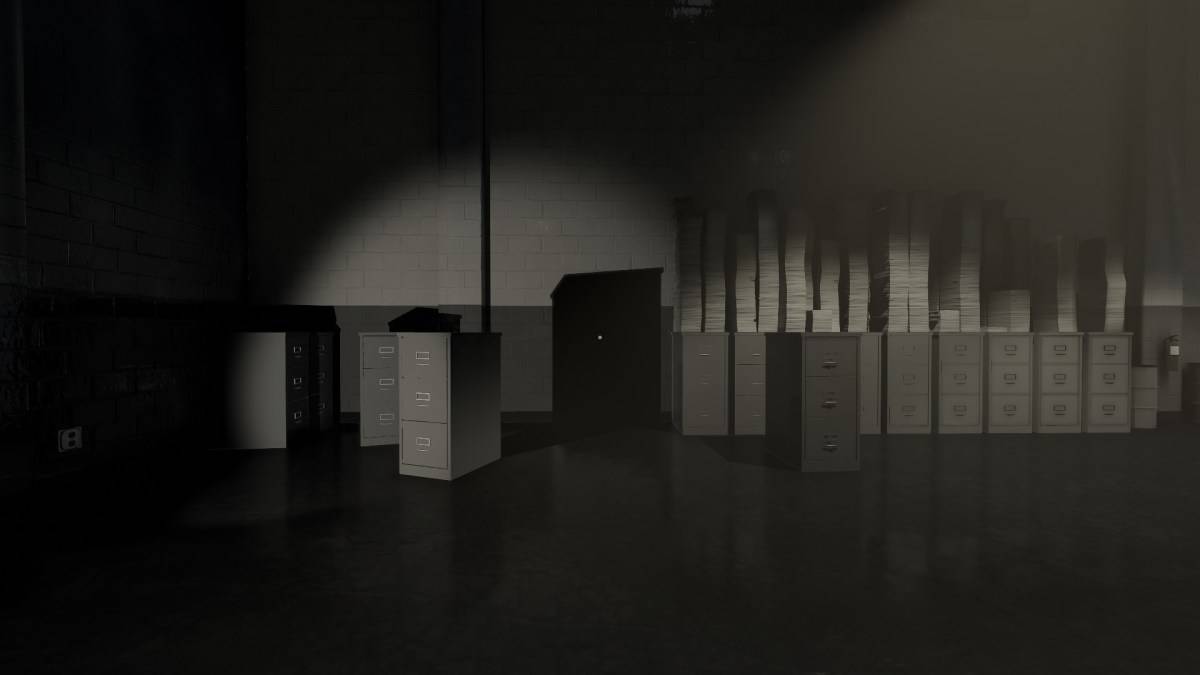
Pick up the black block and go through the doorway behind it. Continue until you reach the filing cabinet room and walk through the large filing cabinet shadow.
Puzzle 2
Navigate the long hallway with open walls and white pillars until you see a white window in a black area. Walk through it, then use the inverted window as a cube to climb through the far door. In the next room, walk behind the wall with the window, towards the containers and chimney, and flick the switch.
Puzzle 3
Walk towards the stairs but pass through the white stair shape to reveal black stairs. Follow the black path until you fall and keep walking.
Puzzle 4
In the looping hallway with colored pillars, walk through the white walls to find another door behind the red and blue end. Proceed to the chessboard.
Puzzle 5
Avoid falling through the chessboard squares. Use chess pieces from the table to cross: place a white piece on a white square, cross to it, then use a black piece on a black square, and so on, until you're across.
Puzzle 6
To turn the white door into a room, drop the cube behind the white space behind the door. Find a cheese wedge inside, enlarge it to reach the high door by positioning it below the door.
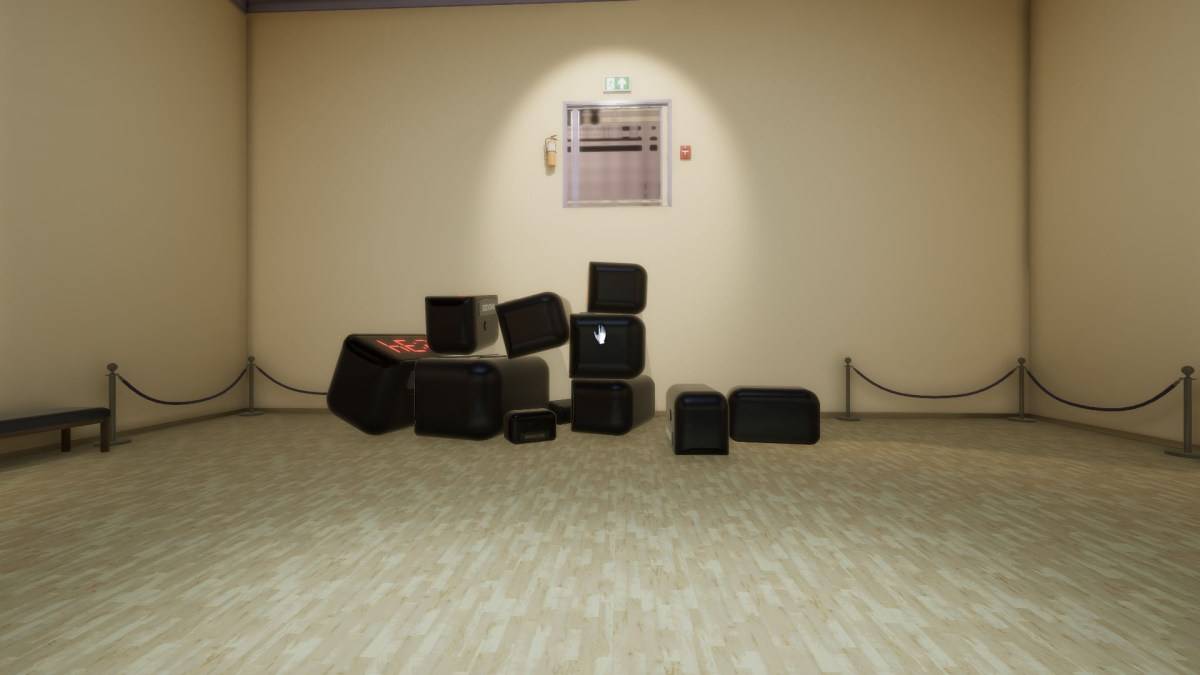
Puzzle 7
Keep falling through chequered holes and corridors until you pass through a door into whitespace. Turn around, click the black box to reveal an exit sign and a red pit. Jump into the pit to complete the level.
Level 9 – Retrospect
Activate the alarm clock to open the door. You'll hear from Dr. Glenn Pierce and revisit sections of previous levels and new areas. You can move around, but the game will transport you to the next area.
Congratulations! With our Superliminal walkthrough, you've conquered the game. For an extra challenge, try Superliminal's Challenge Mode. For more guidance, explore our other video game walkthroughs.
 Latest Articles


 Latest Games